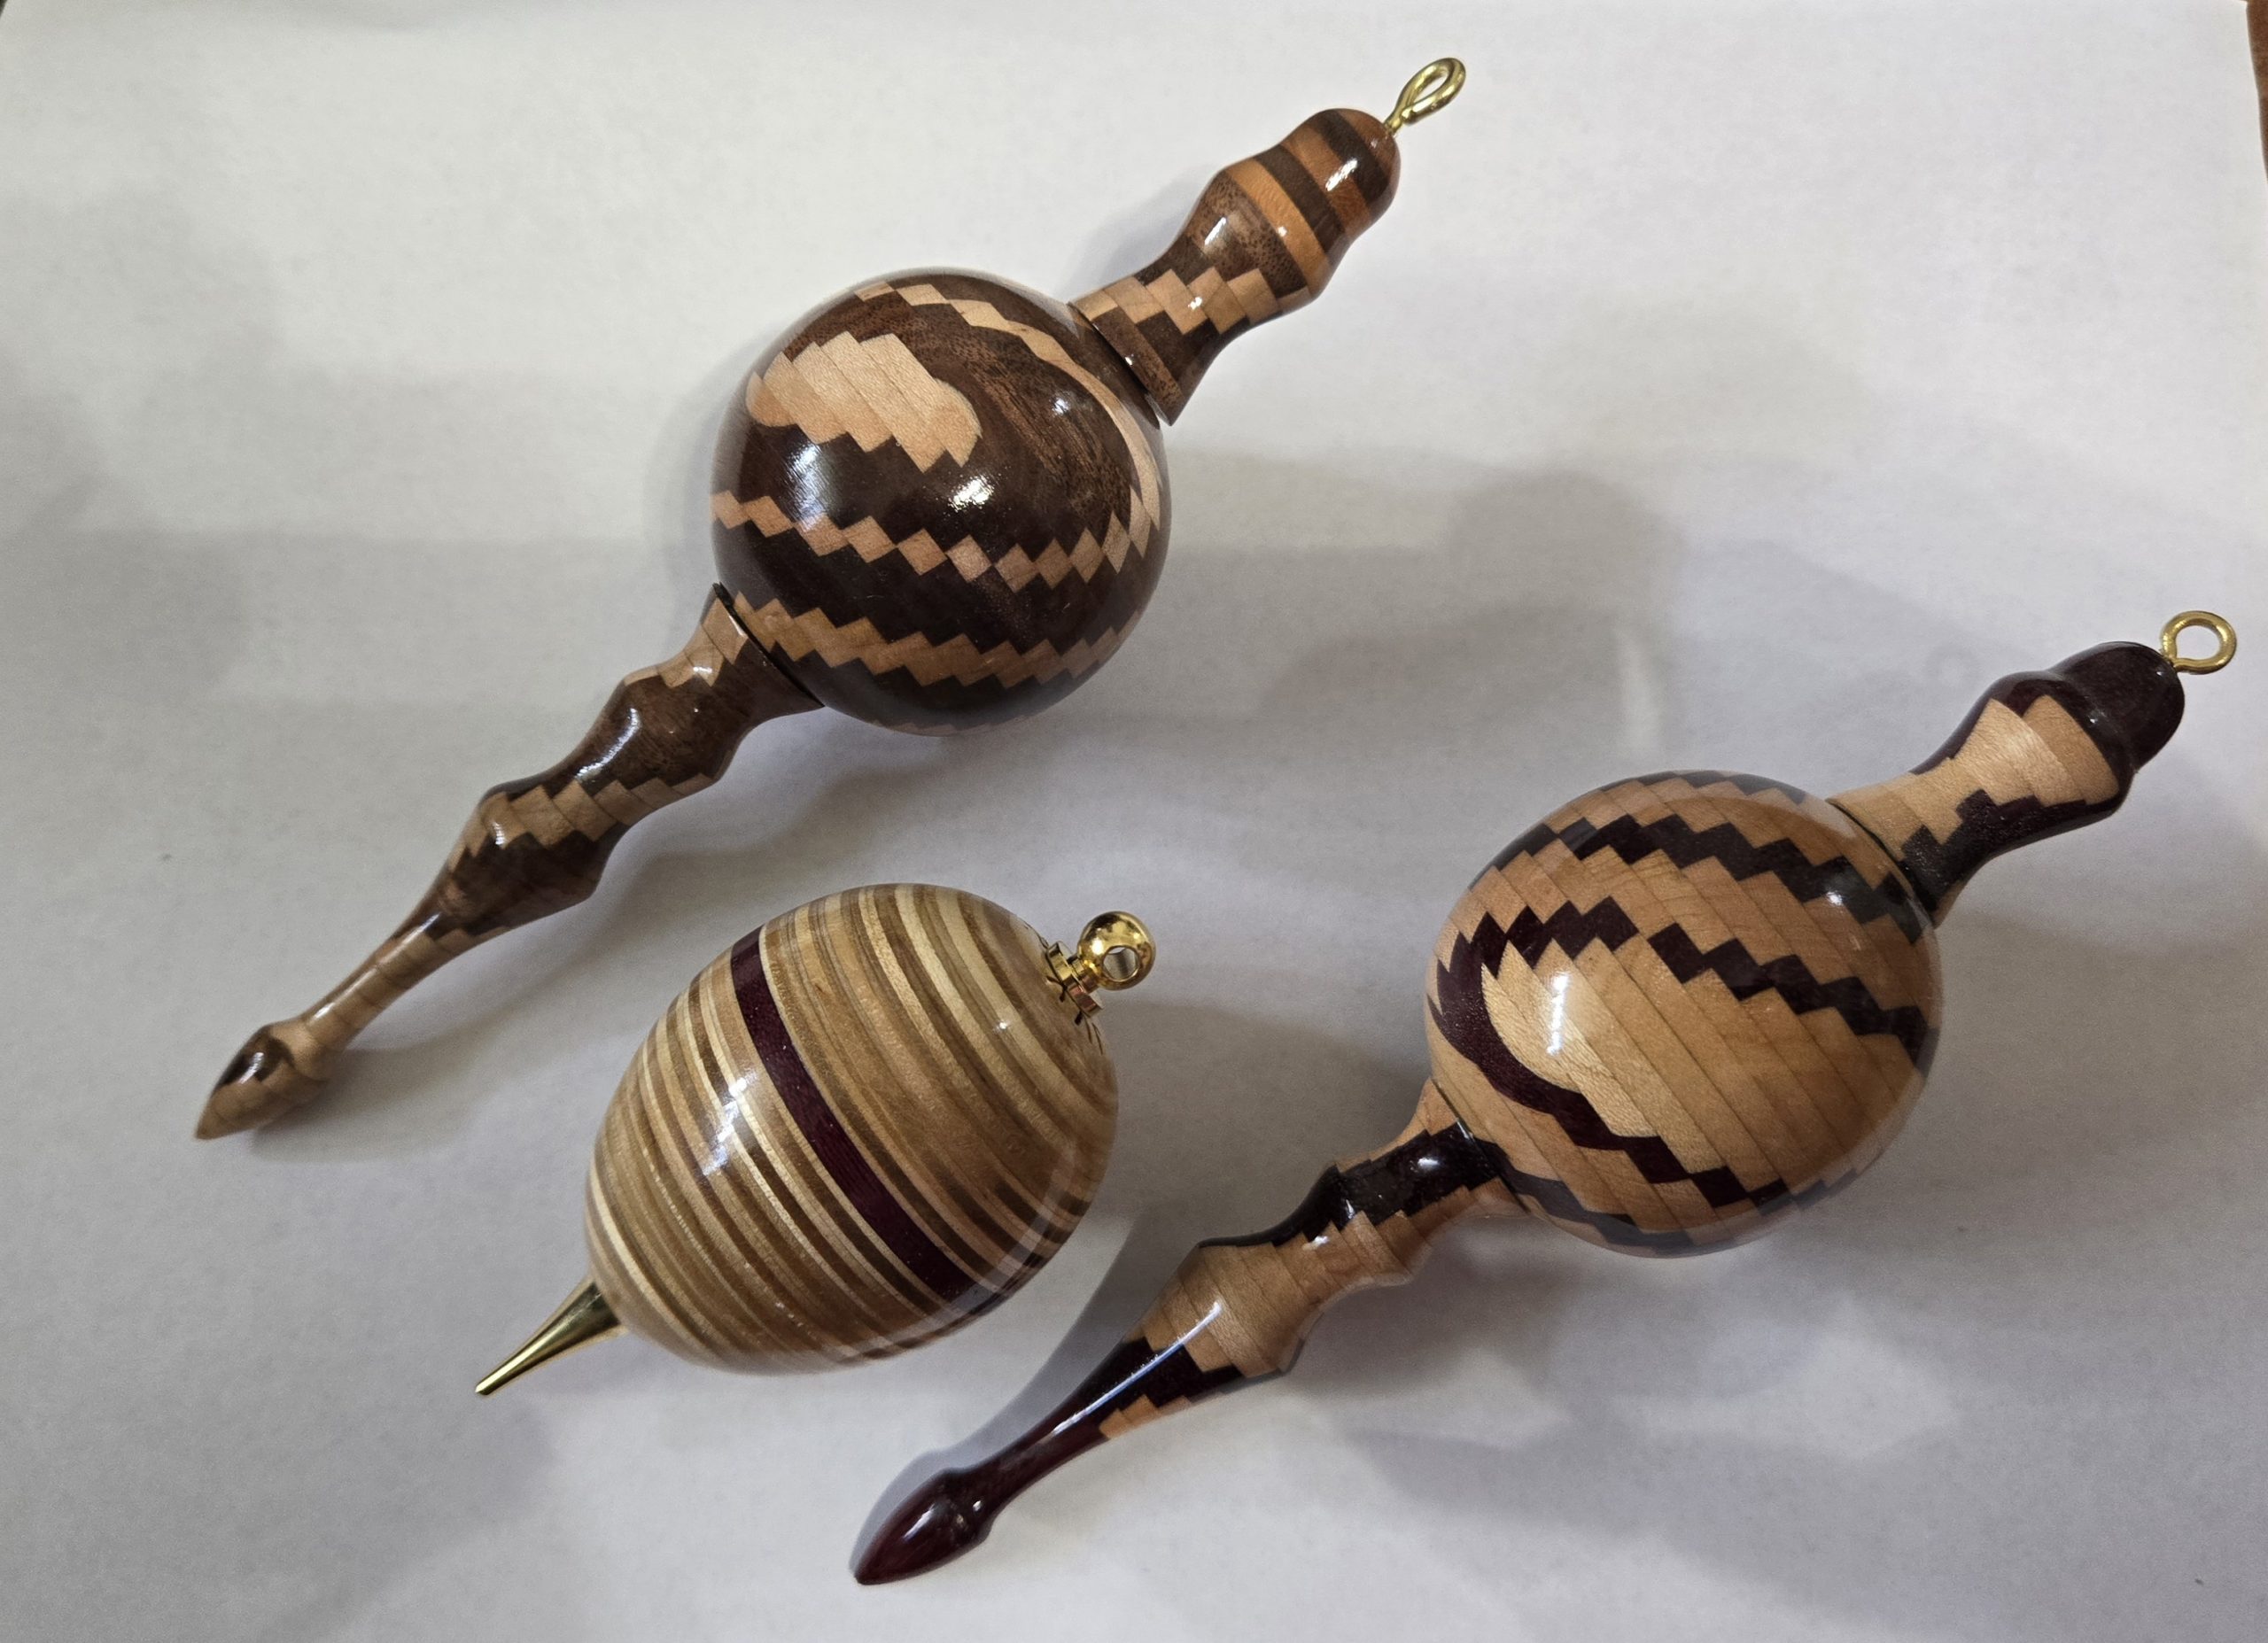
Christmas Ornaments and Hollow Balls
By building up hollow balls from many layers of wood, lightweight balls can be made for many uses, such as hanging on the tree. And interesting wood patterns and grain result!
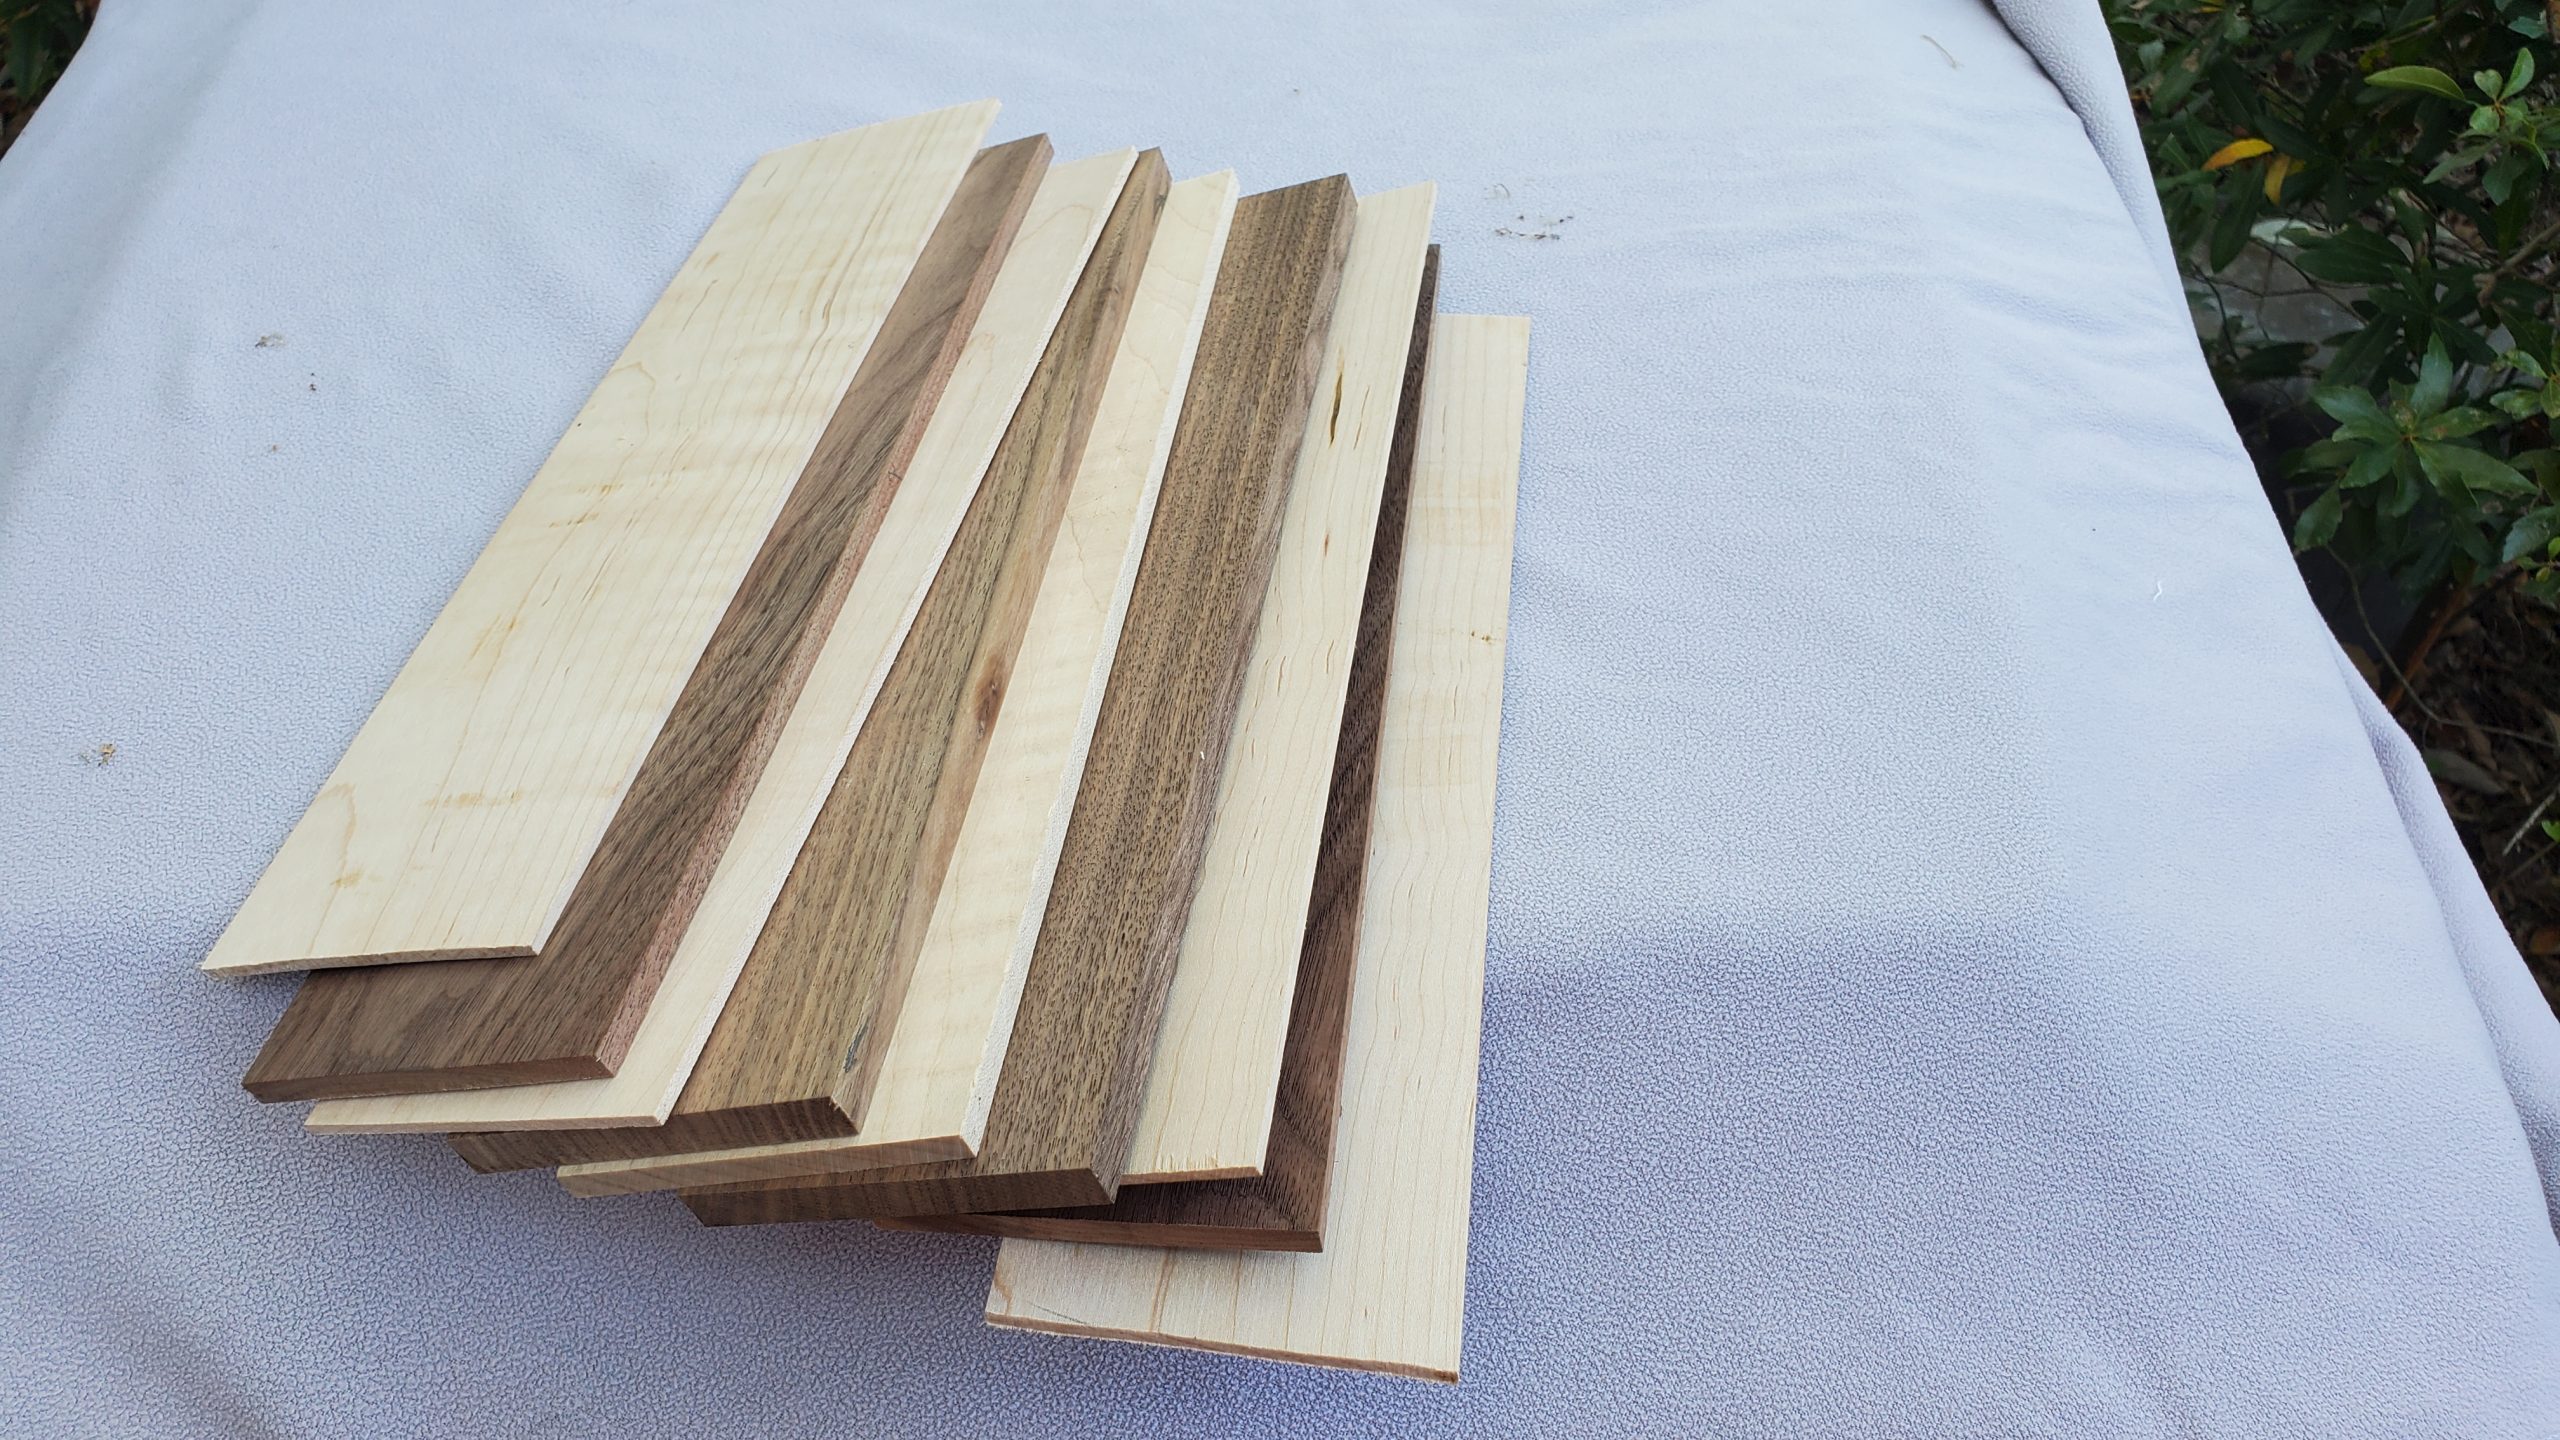
2 - Cut the wood layers
The sequence of different layers using different woods will define the pattern that you end up with. The total thickess of all the layers glued together needs to be a little more than the eventual diameter of the ball. If a symmetrical “swirl” pattern is desired, the sequence of layers will need to be symmetrical. Or just use your imagination.
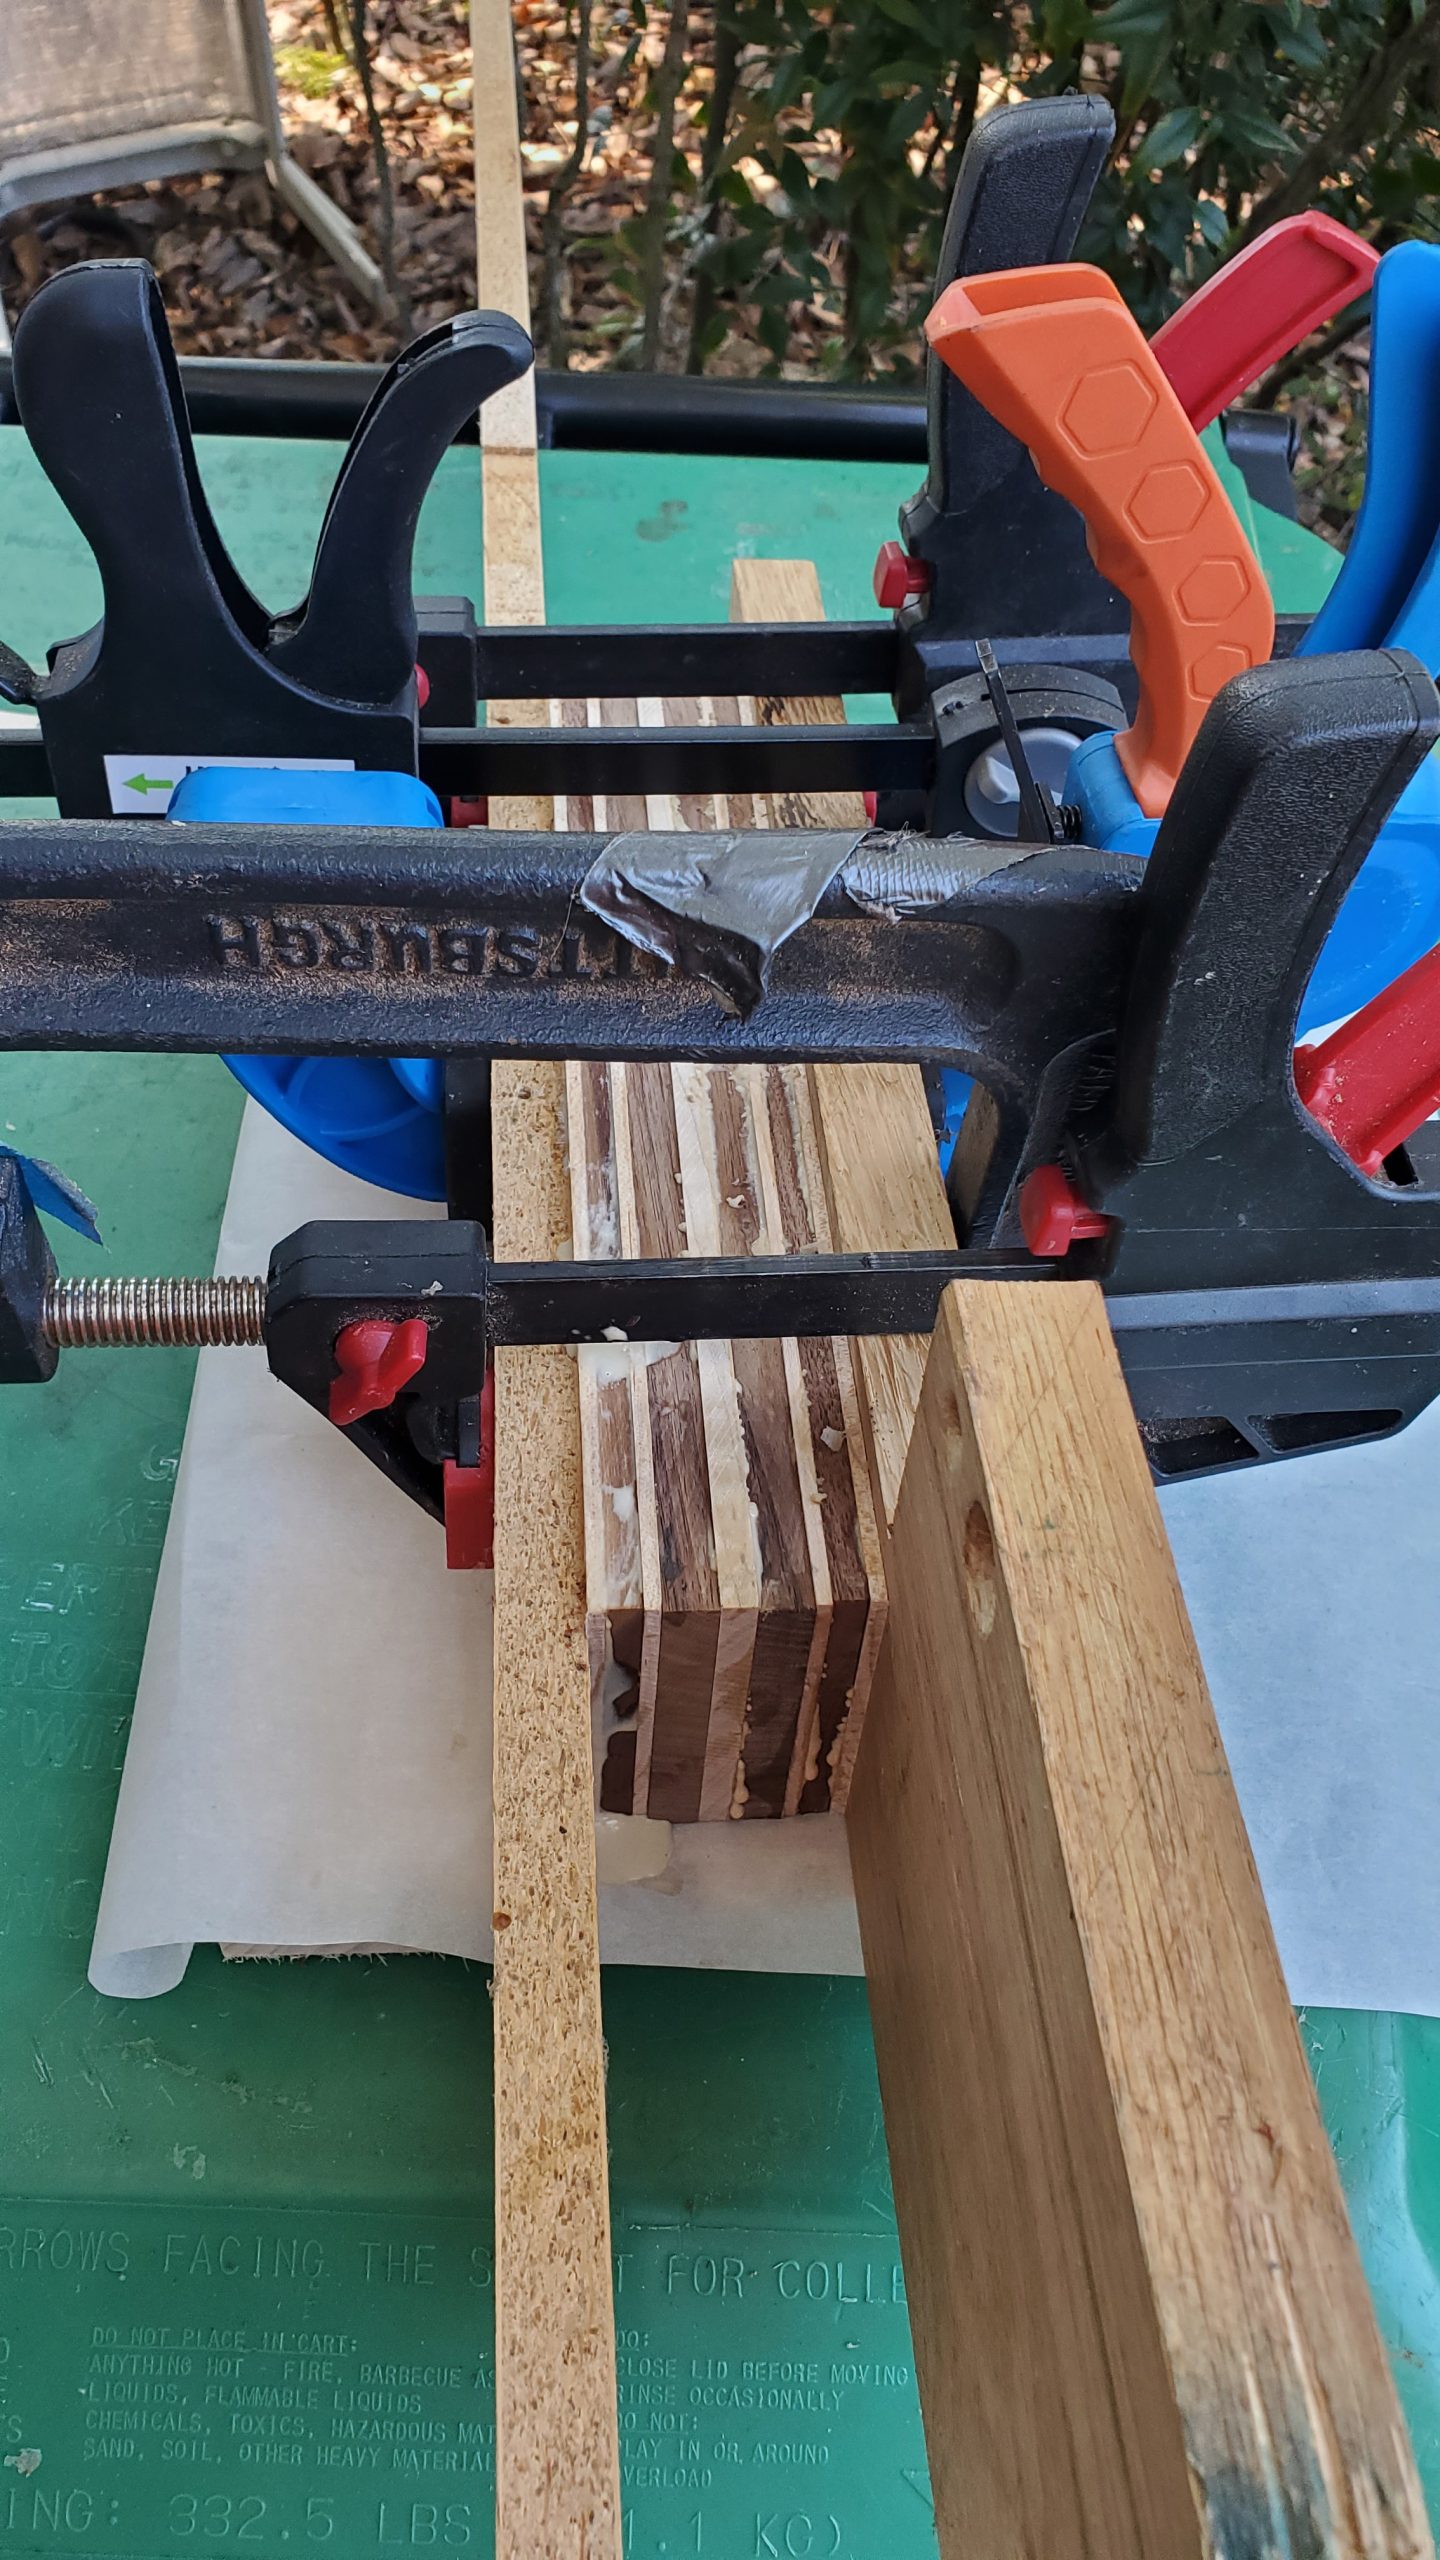
3 - Glue up the layers
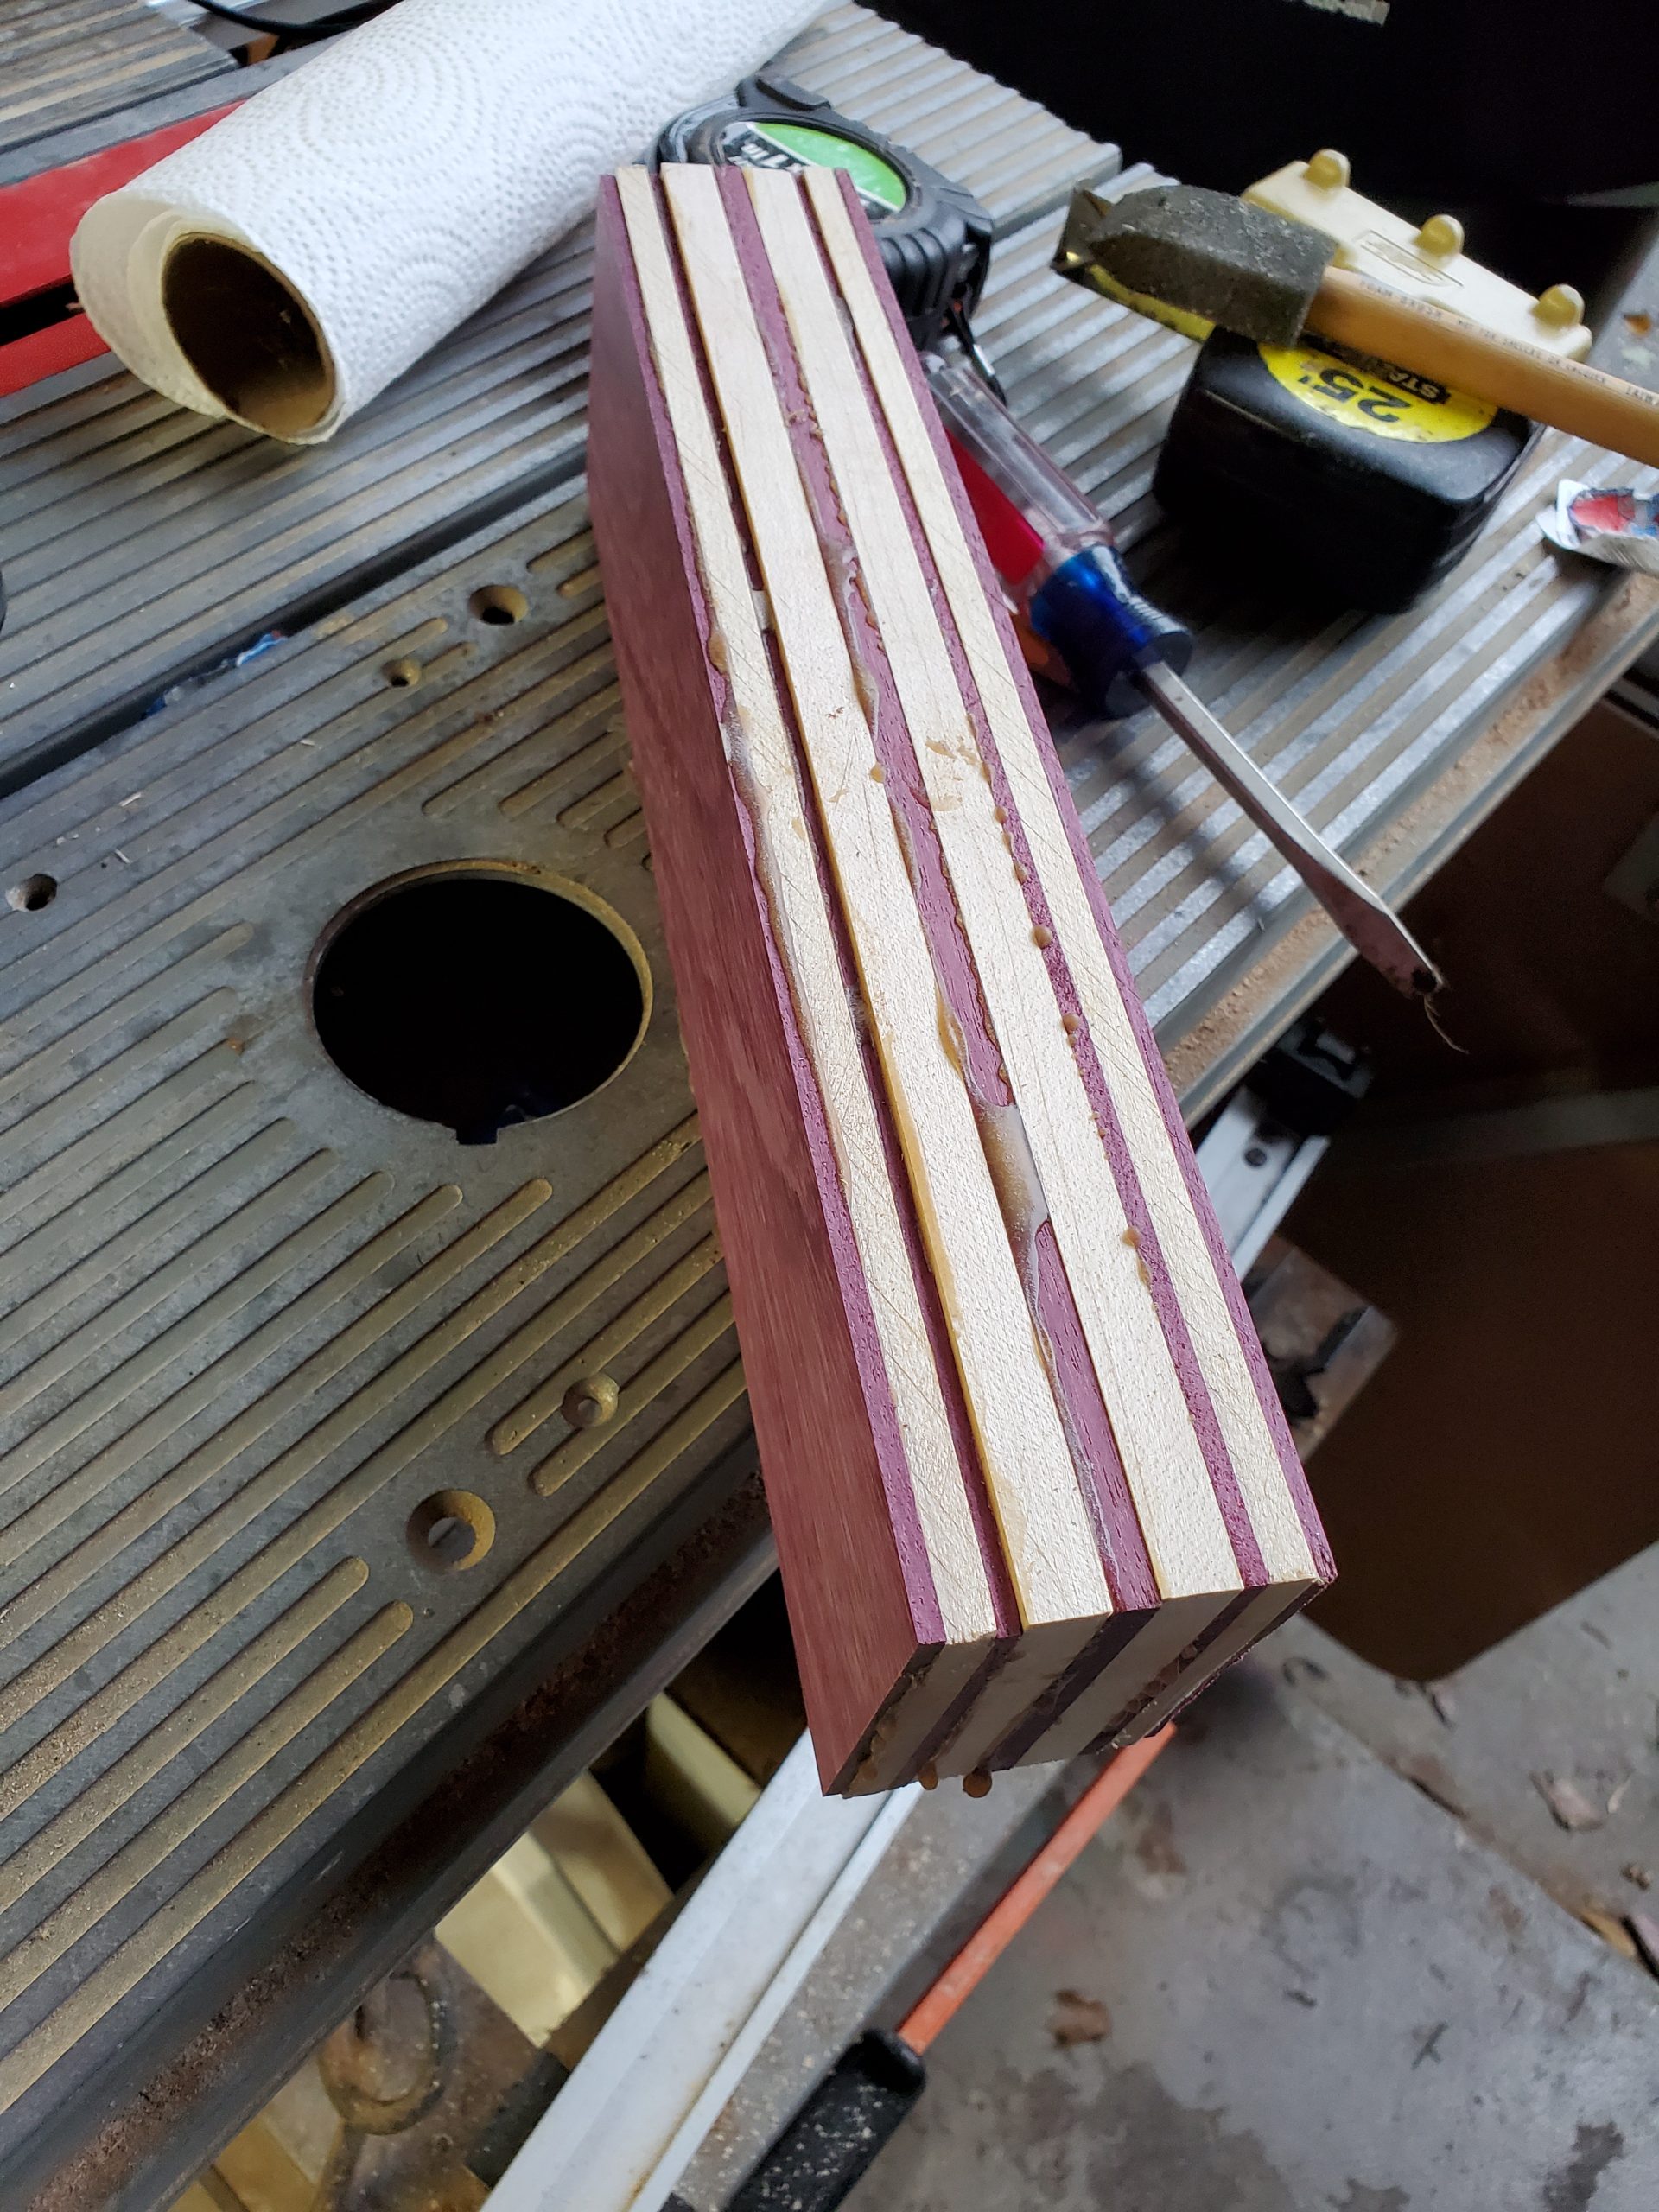
4 - The loaf, ready to slice
5 - Cut the loaf into slices
The loaf will need to be sliced into a thickness that can be planed into the desired thickness of each of your ring layers as determined in the original layout. In this case I want 1/8″ layers, so I saw out 3/16″ thickness layers to allow for planing down to 1/8″. I prefer to do the sawing on the bandsaw using a resaw fence, because the thinner bandsaw blade wastes less wood than the table saw blade and it seems safer for cutting thin slices out of the loaf. But either saw can be used.
These will need to be smooth and of a consistent thickness, so a thickness planer is recommended to take them down to the final thickness. Or maybe you can come up with an alternate method using some type of sander or a jointer-planer.
6 - Cut out the rings
I use my inexpensive K40 laser to cut the rings. Since not everyone has one available, they can also be cut using hole saws and a scroll saw or jigsaw.
7 - The rings
8 - Glue the rings
This part can be tedious, but arrange the rings in the correct order and use a paintbrush to apply glue to each layer. I typically just glue a few layers at a time, carefully centering each one on the previous one, and then using a clamp or weight on top to hold them until dry. Notice that you will be doing two identical halves, and then gluing the two halves together. If you are doing a swirl effect, rotate each layer a small amount relative to the layer below it.
9 - Glue the halves together
Ready to turn! I typically leave a 1/4″ hole in each end of the top and bottom 3 layers, so I can then use a screw in the lathe chuck and a live center in the tailstock to mount the blank.
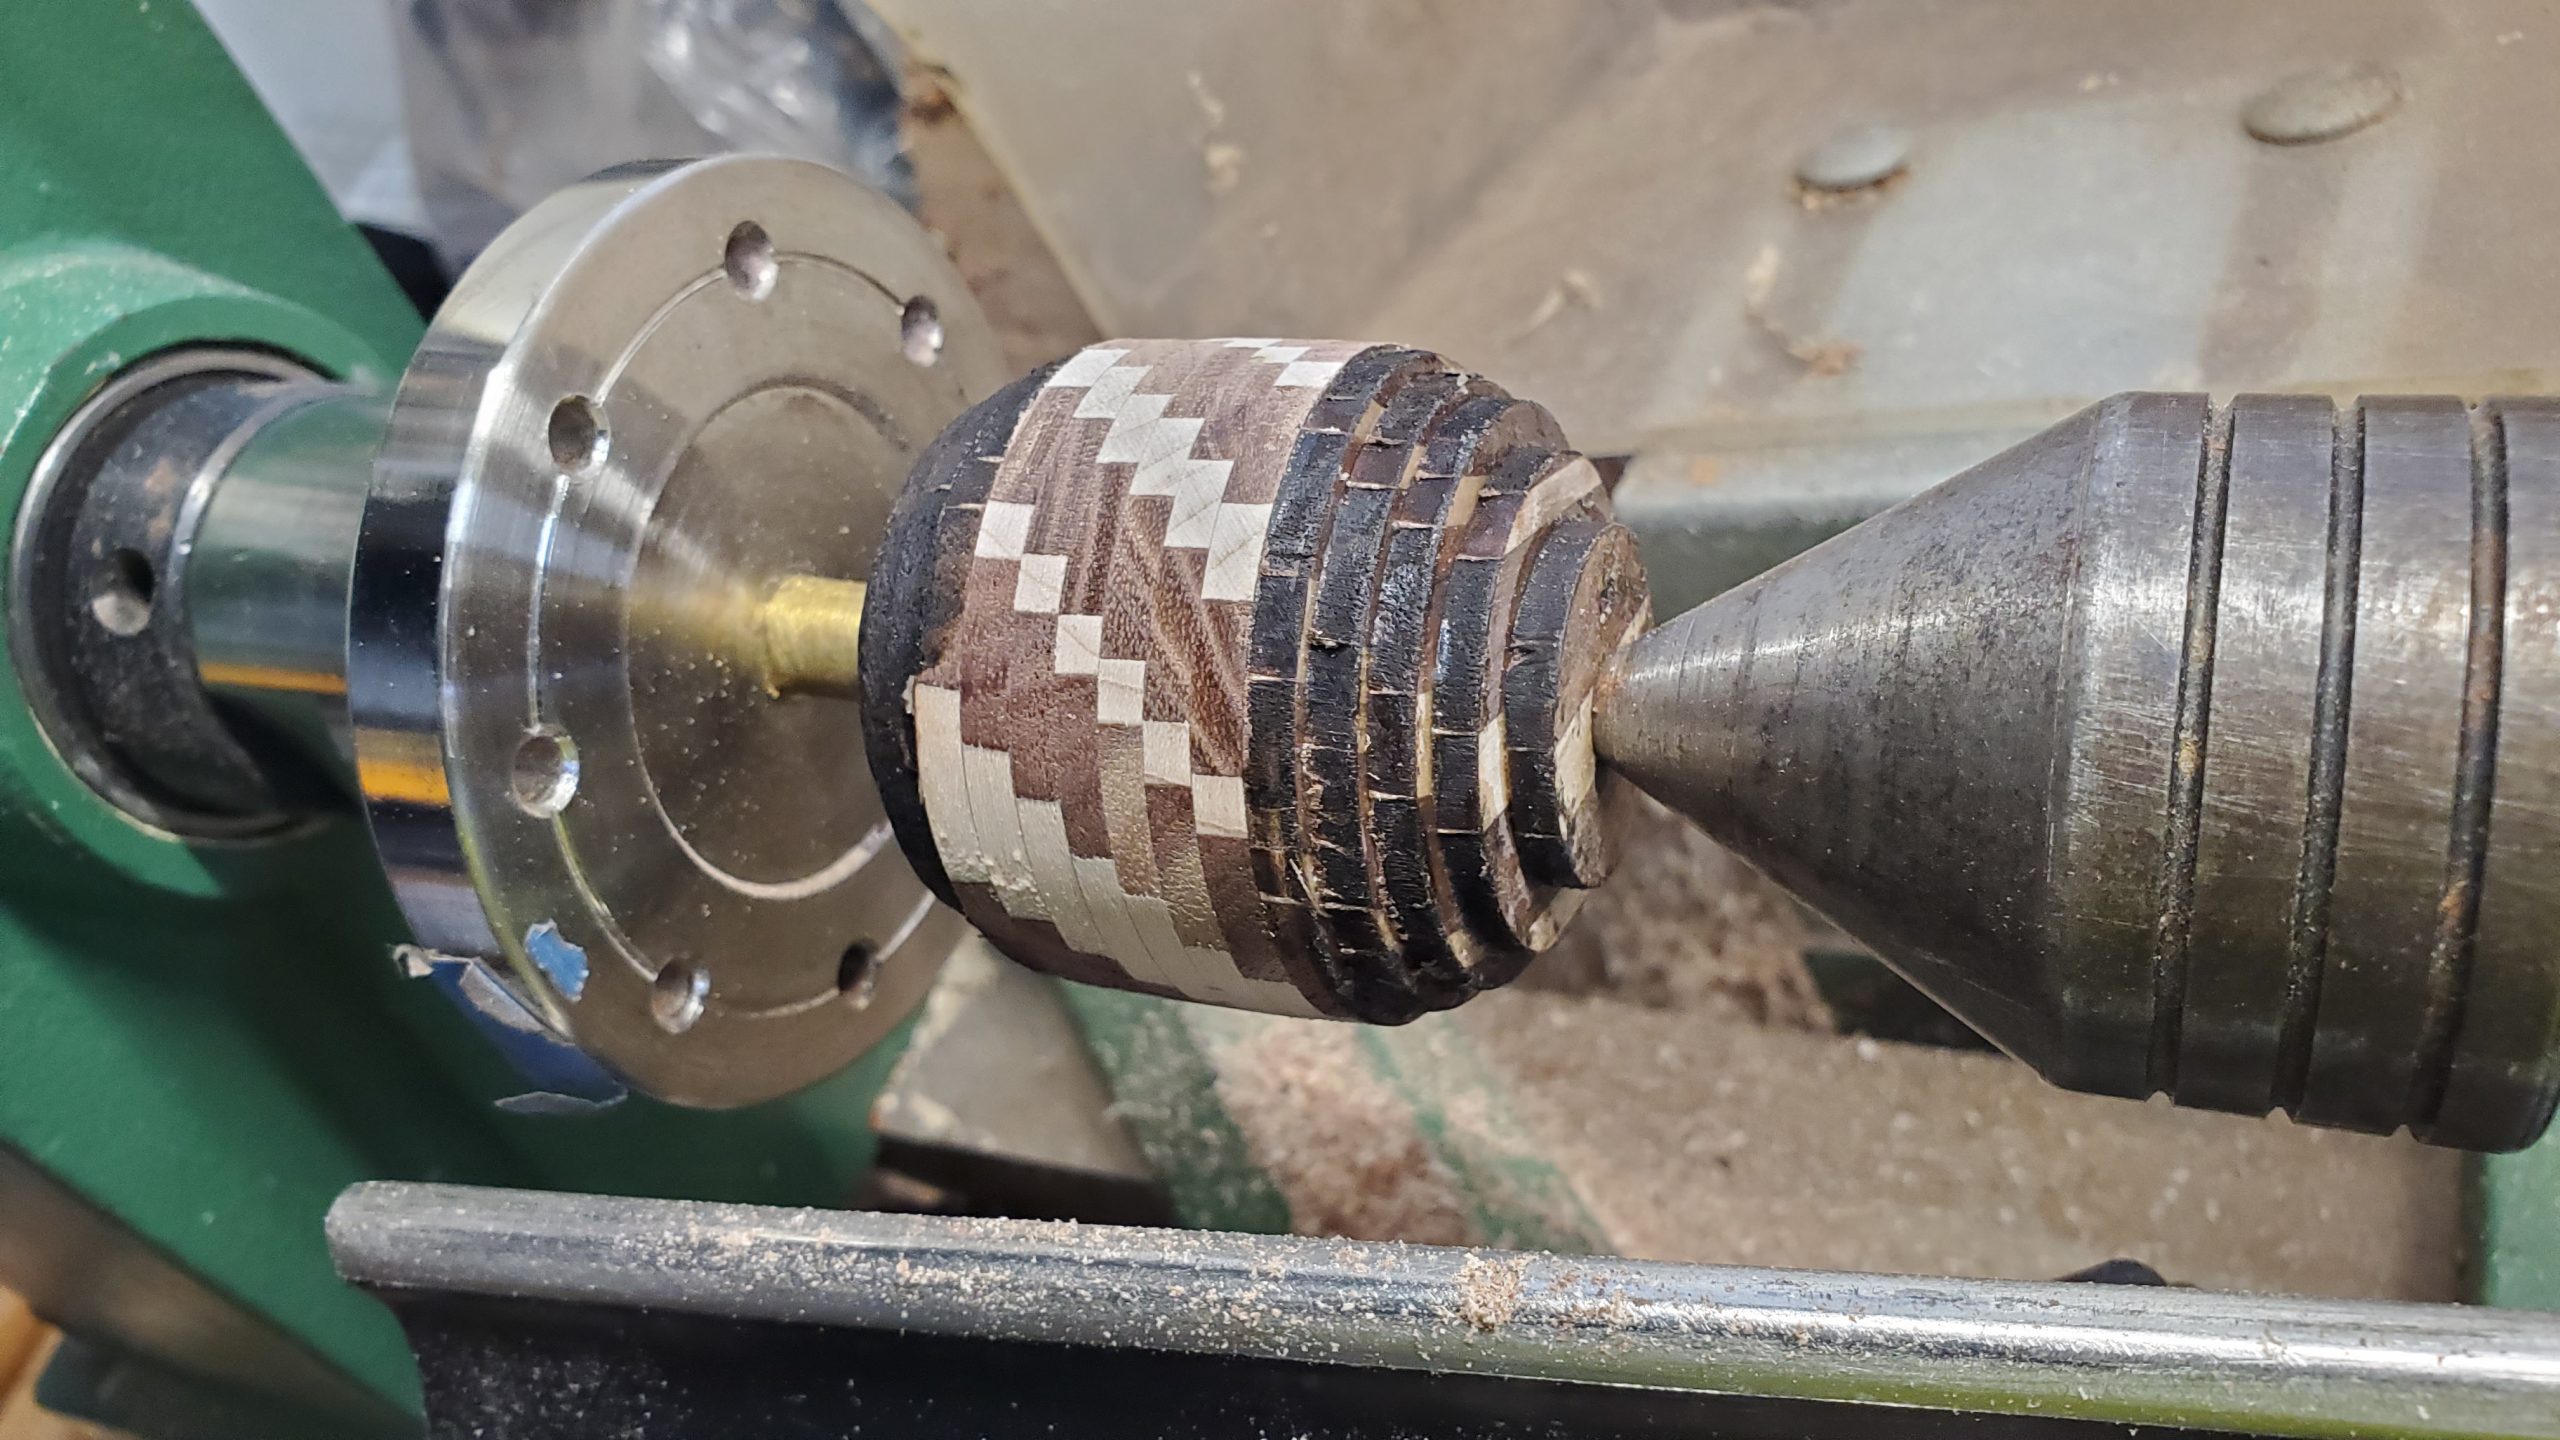
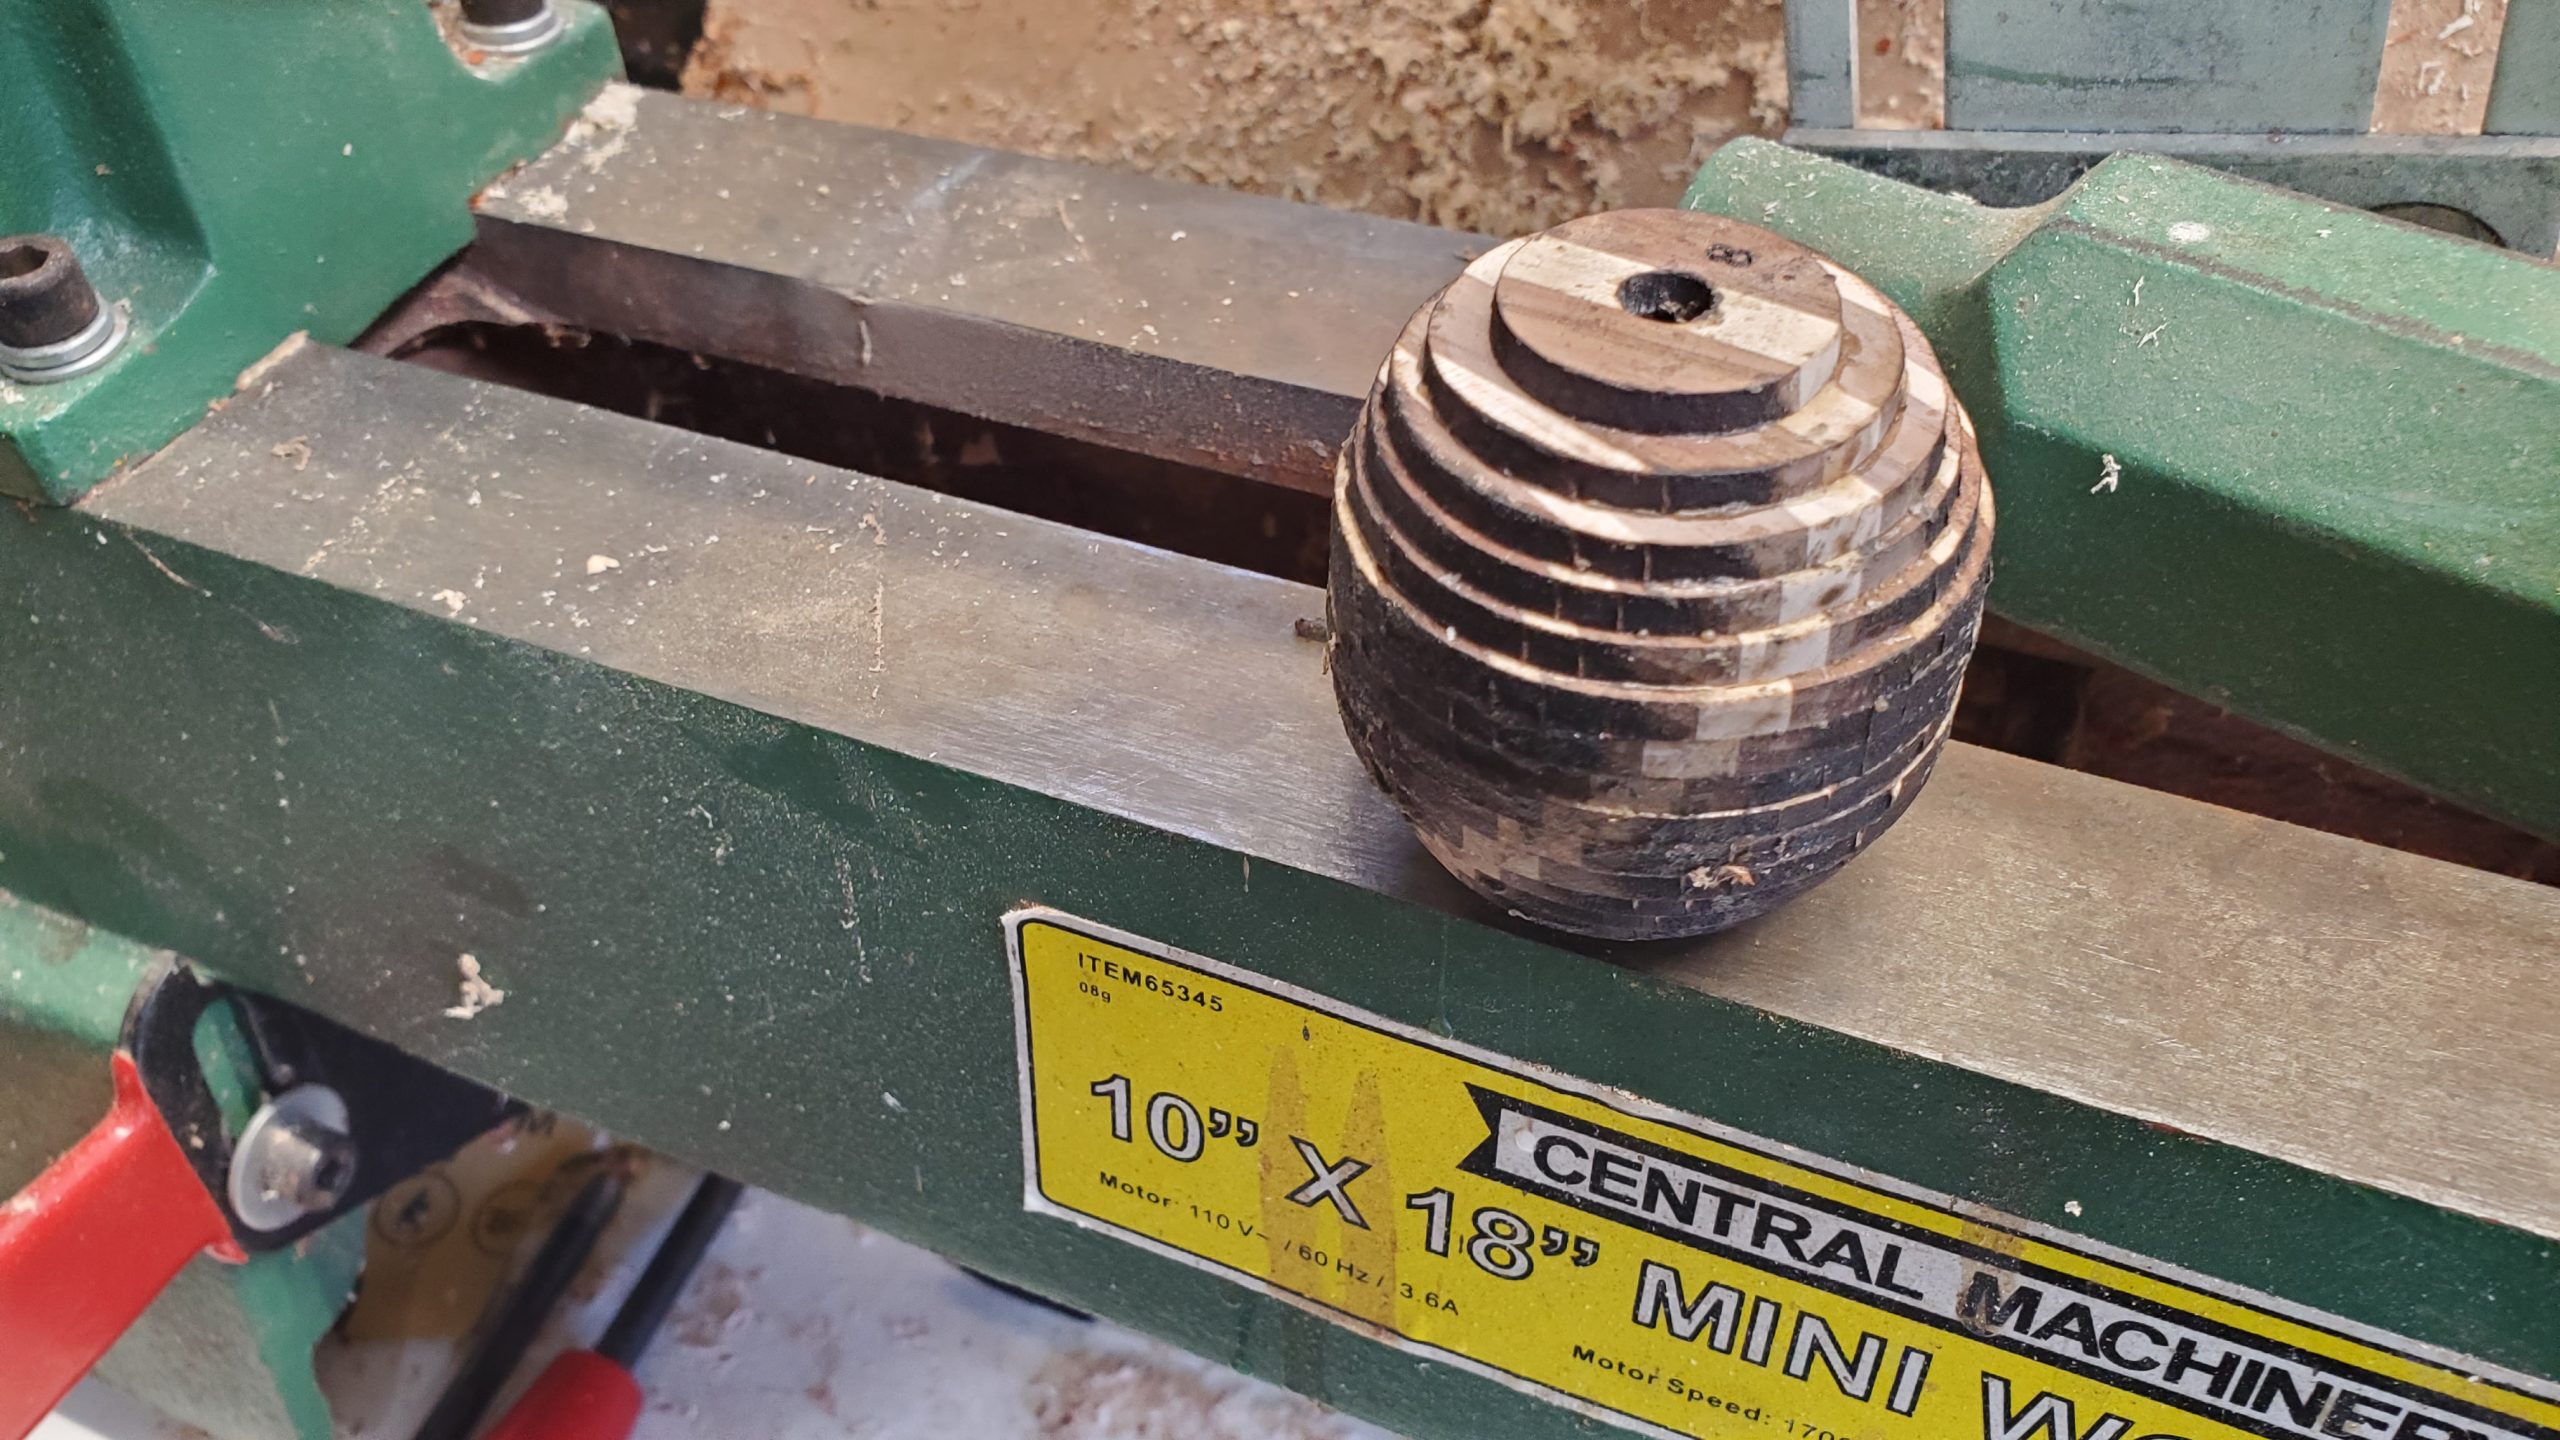
10 - Start turning!
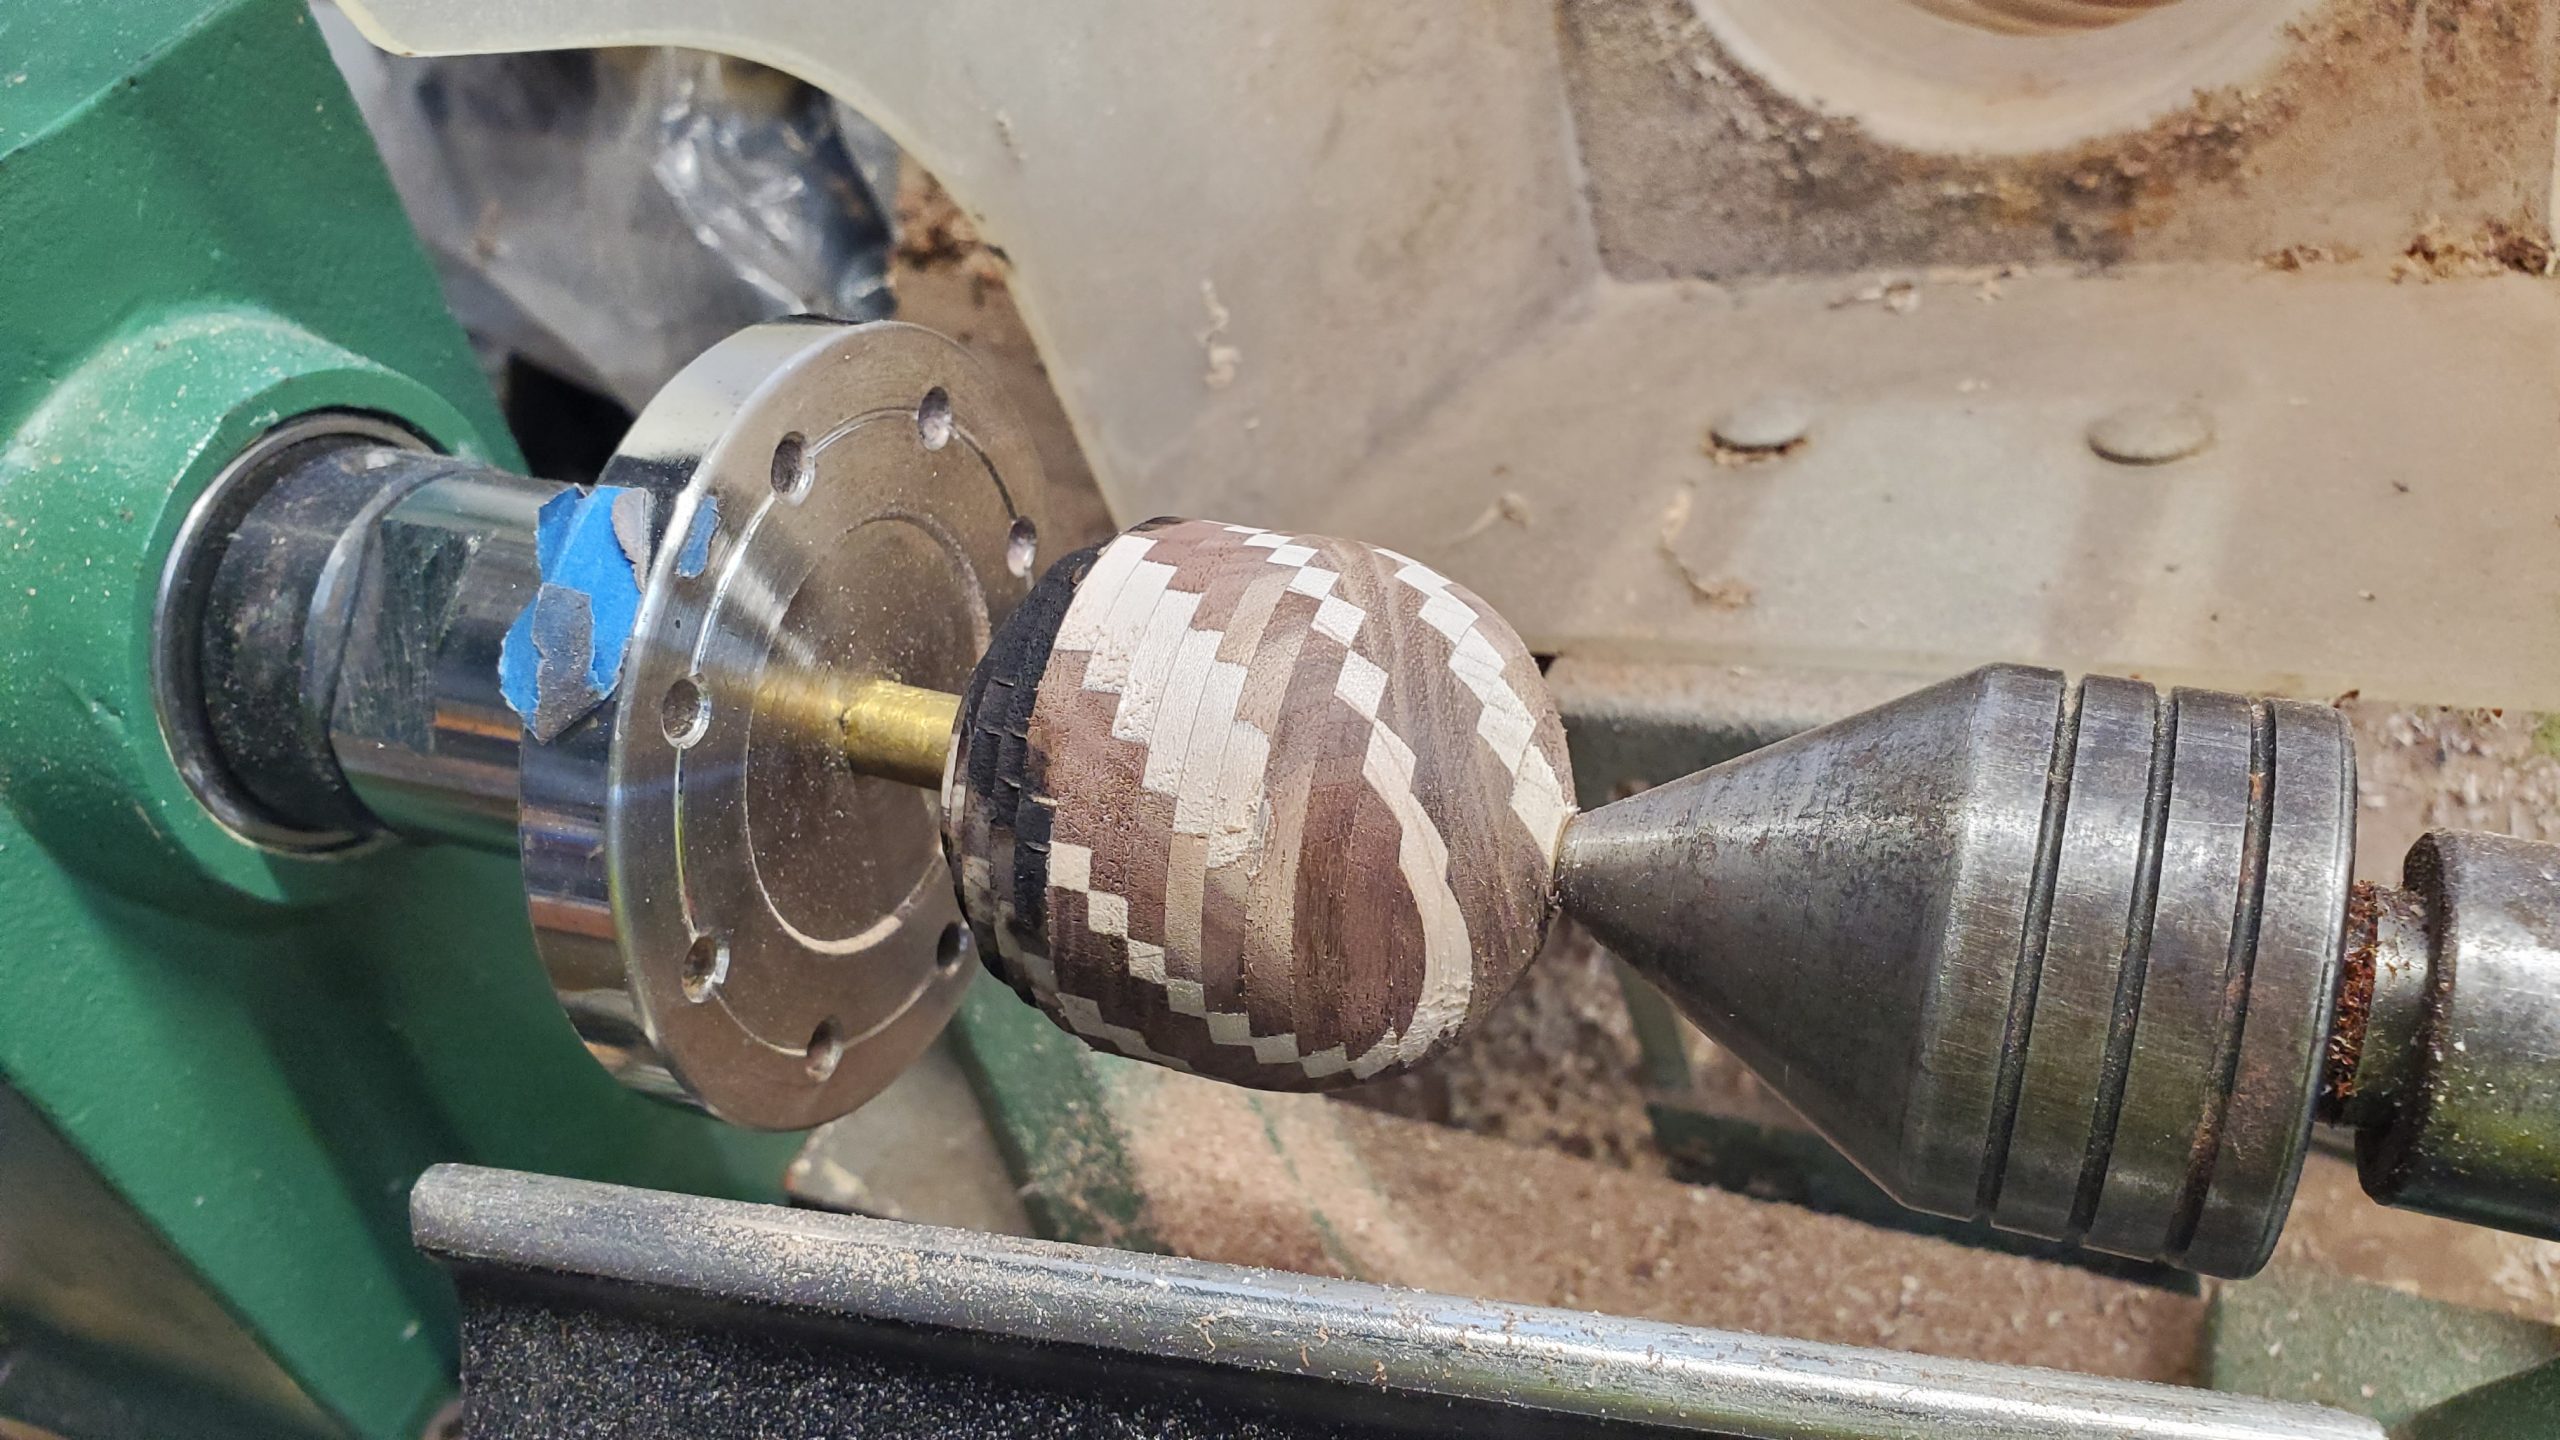
11 - Looking good!
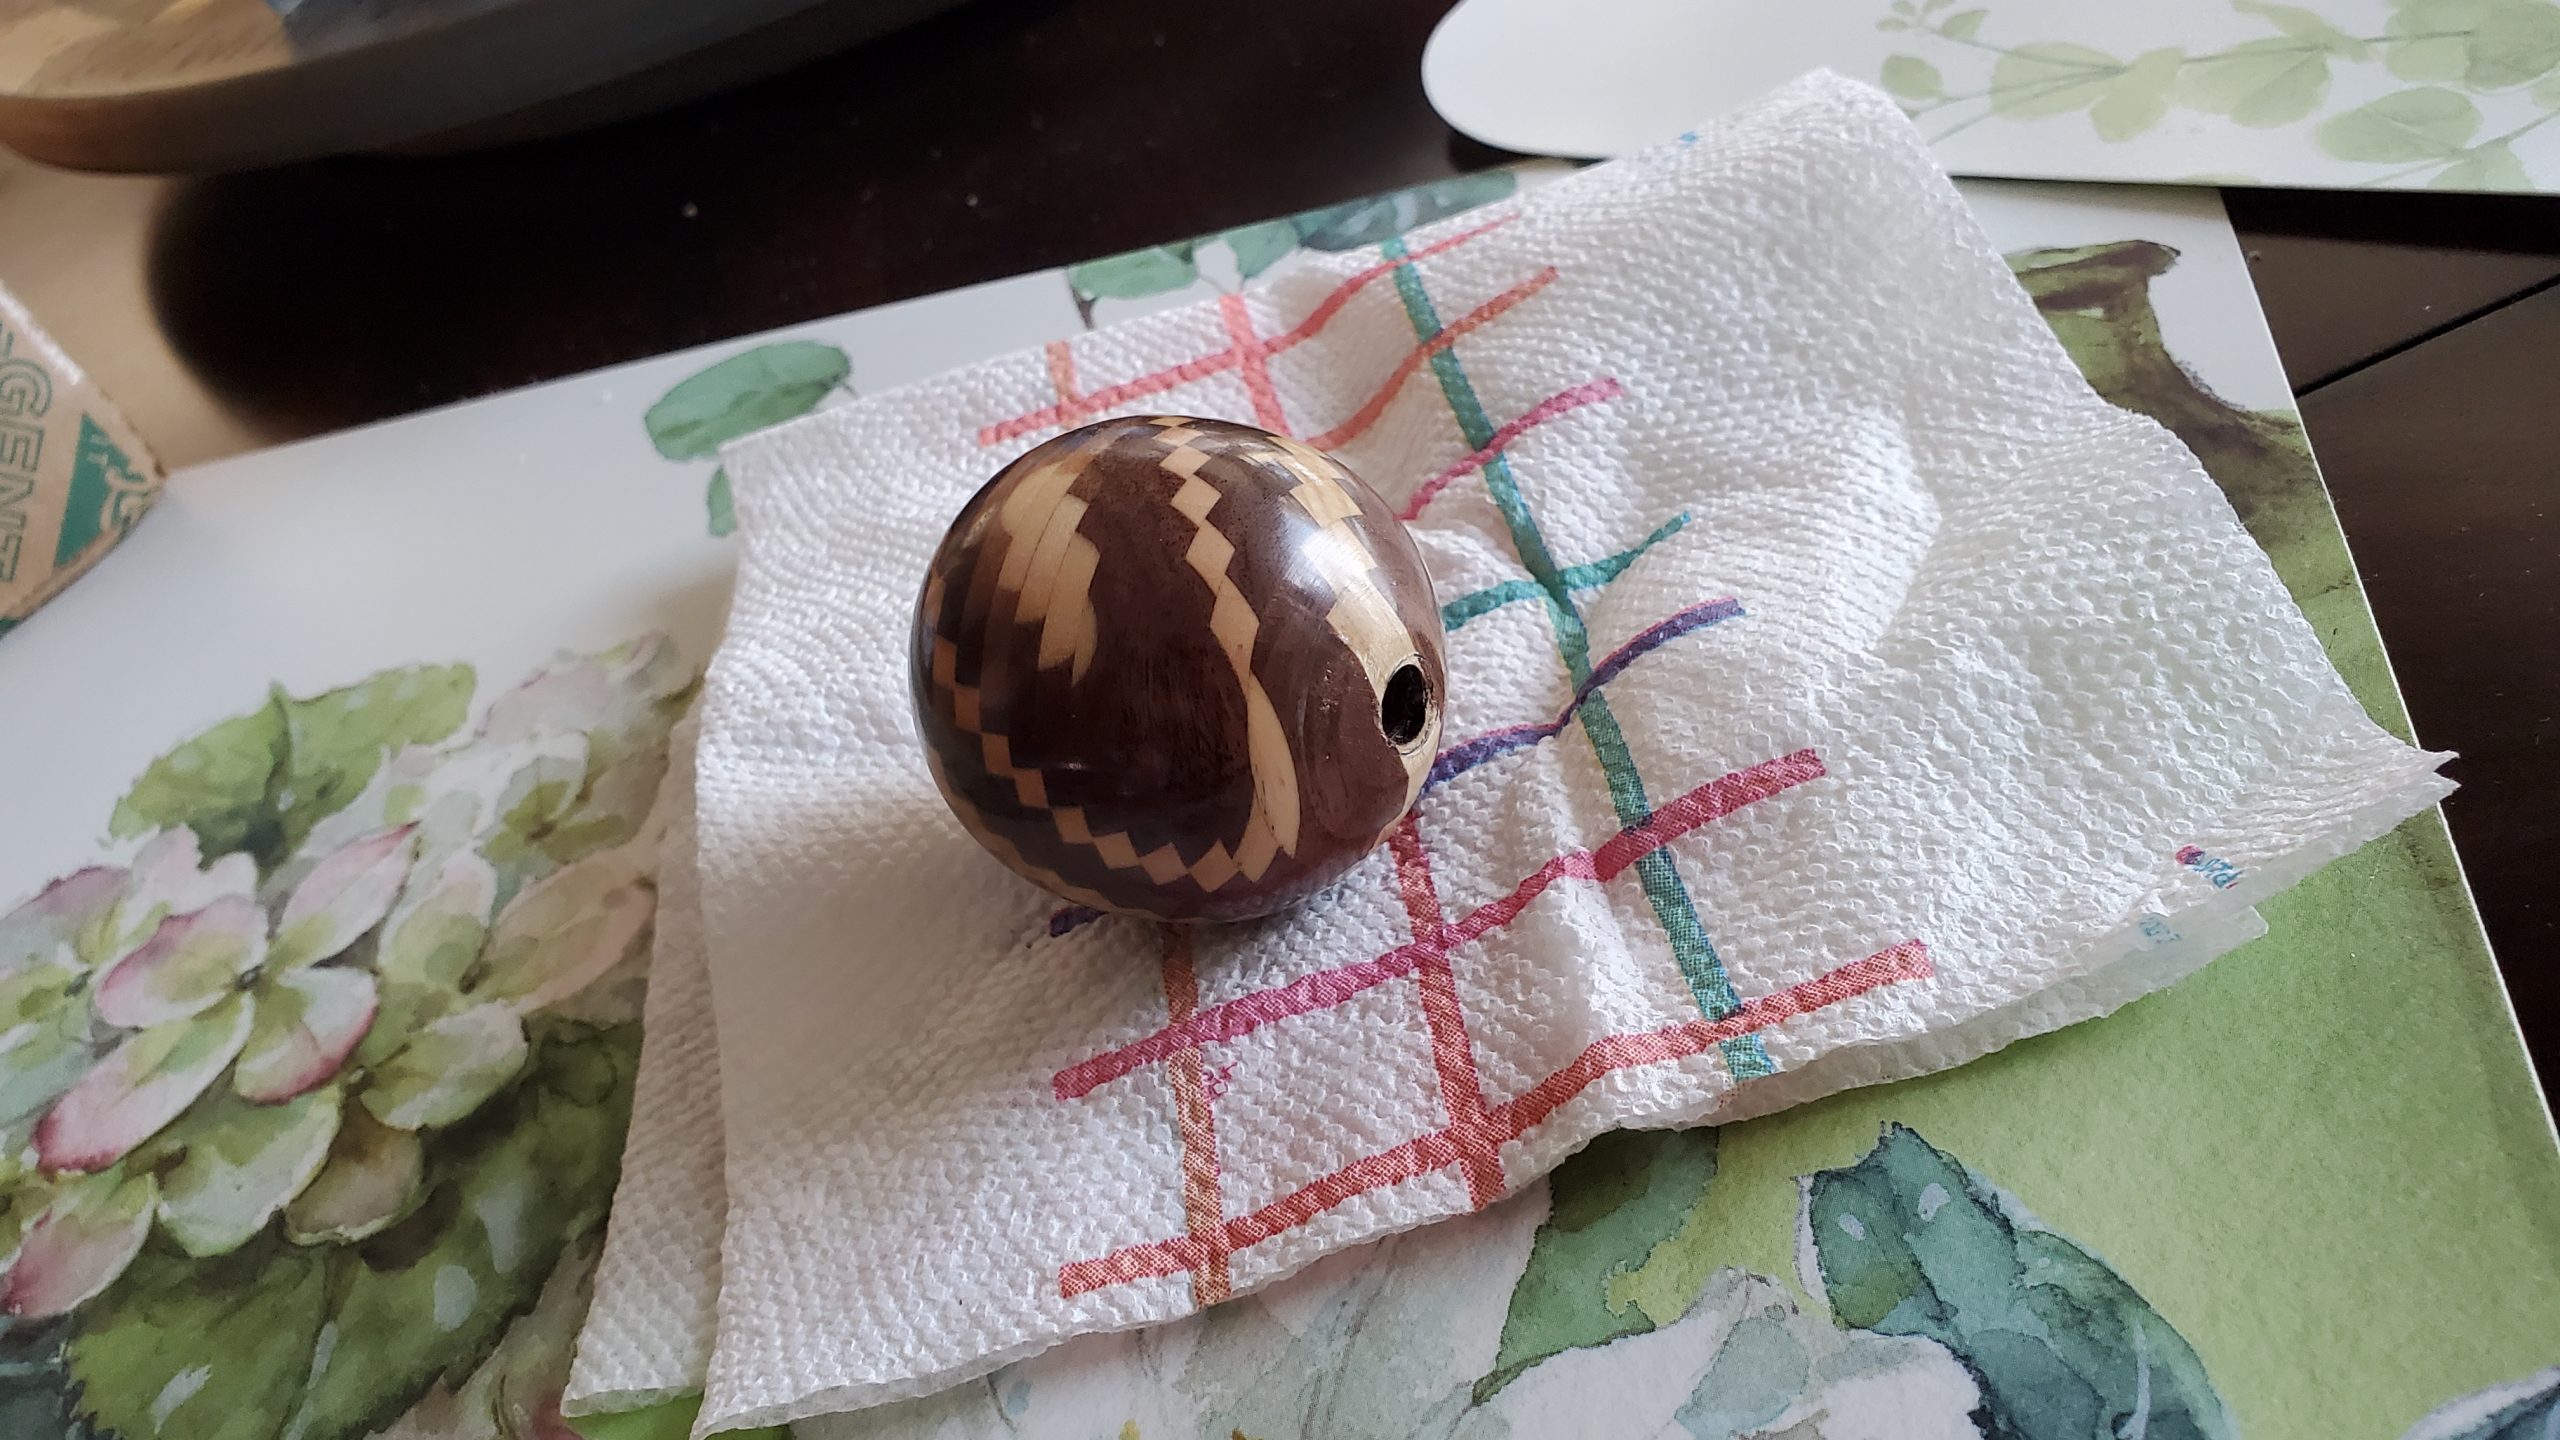
12 - Sand and finish
Once turned nice and smooth, sand it through the sandpaper grades on the lathe. If using a wipe-on finish or polish, do that on the lathe also, but I like to use 8 or 10 coats of spray lacquer off the lathe, and then put the ball back on the lathe to polish it. Polishing compound sold at auto supply stores for clarifying headlights gives a mirror finish.
13 - Enjoy!
For Christmas ornaments, I use the quarter-inch holes at the top and bottom to insert decorative spindles on the top and bottom.